
BEAM GUI Wallet: Download for Windows/Linux/MacOS
The Beam cryptocurrency very actively broke into our lives. It appeared at about the same time, as did the sensational cryptocurrency Grin. Both of these coins work on the MimbleWimble protocol, which in fact served as such an active interest in these two cryptocurrencies.
Types of Beam Wallets
Cold GUI wallet. GUI wallet. (Win / Linux / MacOS)
Cold CLI wallet. Command line, no graphical interface. (Win / Linux / MacOS)
- Мобильный кошелек для Android и IOS
Setting up and using Beam Wallet
In order to keep Beam coins as safe as possible, it is best to use an official cold wallet.
First you need to download the BEAM wallet version that is suitable for your OS.
Consider the detailed configuration of the GUI wallet for Windows:
To get started, download the BEAM wallet.
Run the installation file “Beam-Wallet.exe”
- After starting the .exe file, the program will ask you the path where to install the wallet itself. We indicate the path you need.
- After you agree with the rules, installation will go. It takes from a couple of seconds to a couple of minutes, depending on your hardware.
After the wallet is installed, a new window will appear with the inscription «Beam Wallet has been successfully installed.»
This means that the Beam wallet has been successfully installed. Now you have to click on the “run wallet” button.
- Now the basic wallet setup begins.
After you clicked on the “run wallet” button, the wallet installer will close and a new window will open where you will be asked to create a new “create new wallet” wallet or restore the old “Restore wallet”.
In order to create a new wallet, click on the button «create new wallet».
- A new window will open which says that you will need to receive and rewrite the generated seed phrase.
- At the top of this window you see the phrases:
 Create new wallet
 Create new wallet with generating seed phrase.
 If you ever lose your device, you will need this phrase to recover your wallet!
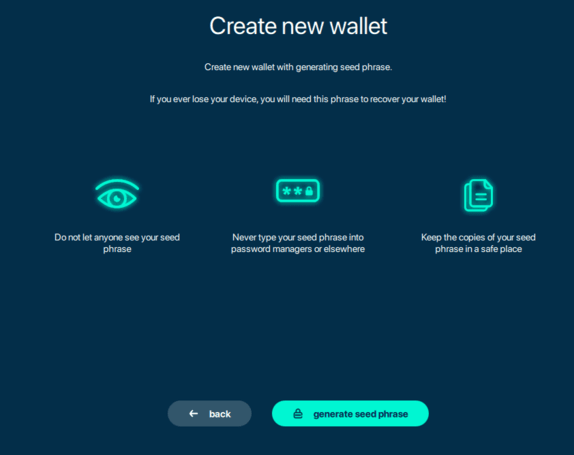
They mean that you are creating a new wallet and should receive a generated seed phrase that will help you restore the wallet in case of loss.
It is this phrase that will help you restore your wallet if the computer on which it stood breaks down.
9. Click on the button «generate seed phrase» to generate your seed phrase.
10. After you clicked on “generate seed phrase” a new window will open, with an already formed seed phrase of 12 words.
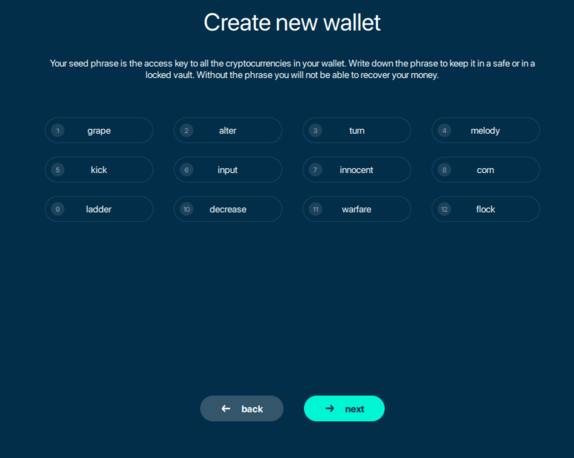
Be sure to rewrite these words in the order in which they are presented. For convenience, you can mark each word with the desired number.
11. After the phrase is rewritten, click on the button «next».
As soon as you click on “next”, the wallet will display the following warning:
«It is strictly recommended to write down the seed phrase on a paper. Storing it in a file makes it prone to cyber attacks and, therefore, less secure.»
12. If you did everything right, click on the “i understand” button (I understand).
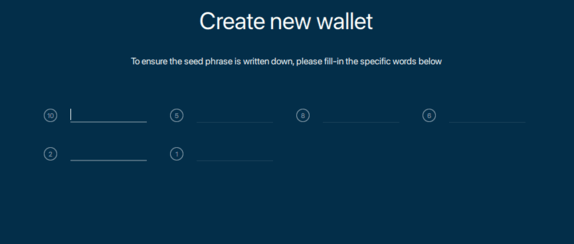
13. A new page will open, which asks you to enter certain seed phrases rewritten by you.
This is necessary in order to make sure that you rewrote everything correctly. We enter the words in the desired numbers.
14. After the words were entered correctly click on the button «next».
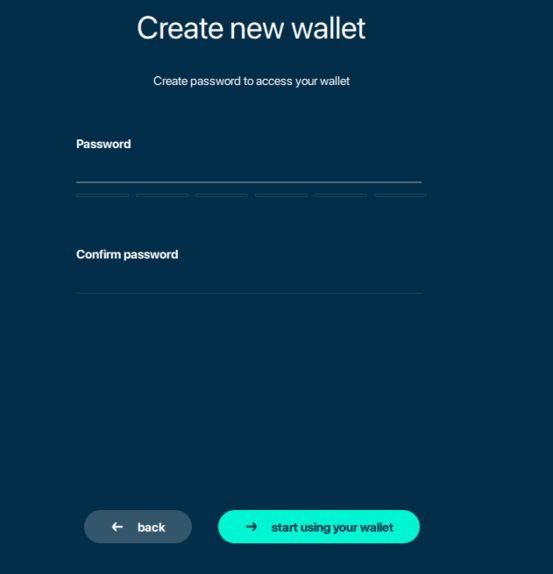
15. A new page will open on which you yourself will need to come up with a strong password for the wallet and also rewrite it!
16. After the password has been entered and rewritten by you on paper, click on the “start using your wallet” button (start using your wallet).
17. A new window will open. Leave it as it is. If desired, you can fix it.
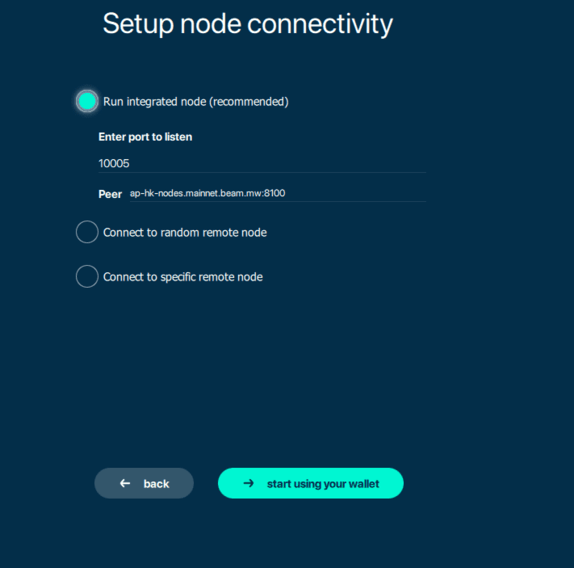
- Run integrated node (recommended) – start integrated node (recommended)
- Enter port to listen – enter port. Entered automatically leave like that.
- Connect to random remote node – Connection to a random remote node (node). Synchronization may not be stable, not recommended.
- Connect to specific remote node – Connection to a specific remote node (node). If you know the nodes you need, then use this item.
18. After you have selected the item you need, in our case it is 1, click on the “start using your wallet” button (start using your wallet).
If this window “Windows Firewall” opens, then click on the “allow access” button.
19. After that, wallet synchronization will start. You can track it right here, it is shown as a percentage. On our core i5, synchronization took about 50 minutes. However, it is worthwhile to understand that every day it will be longer due to the growing blockchain.
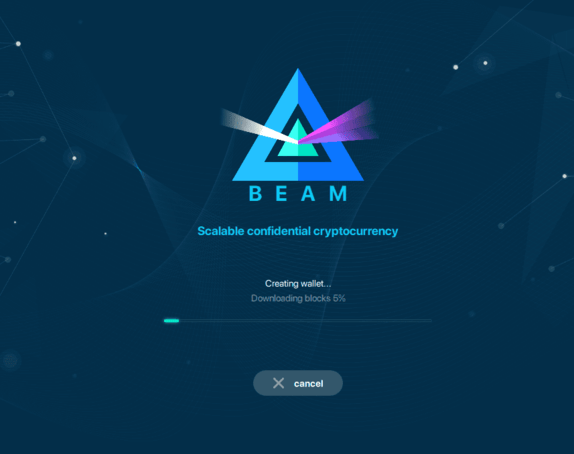
20. After the synchronization is over, the wallet will automatically open.
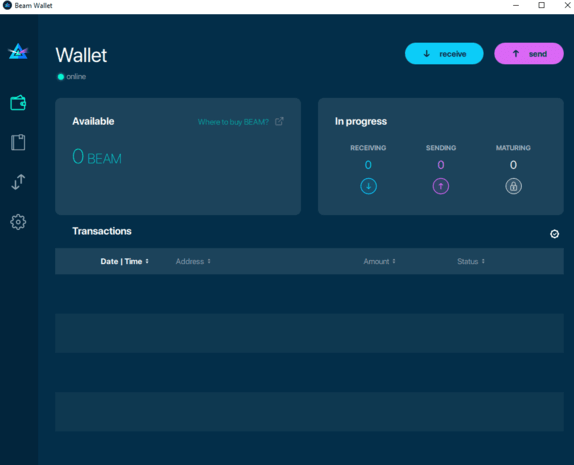
Sending and receiving Beam coins
In order to mine or throw coins from the exchange you need to find out the address of a digital wallet.
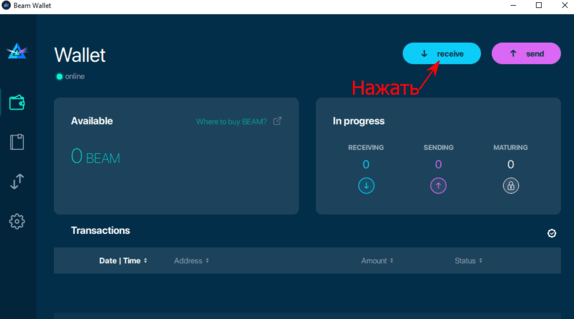
To do this, click on the “receive” button on the main page of the wallet. A new window will open.
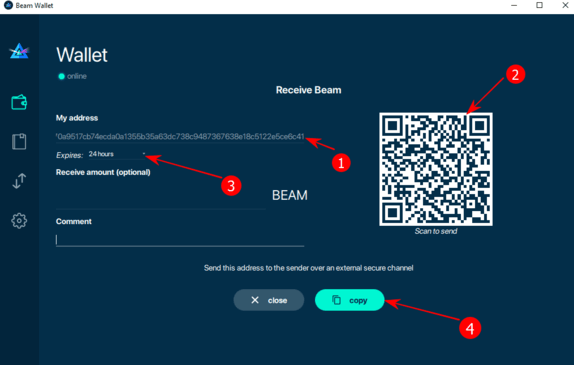
- Your digital wallet, for receiving Beam coins and for use in mining.
- A QR code that can be considered your smartphone. This QR code It also contains a digital wallet (the same as in paragraph 1). This is for your convenience.
- «Expires» – This digital wallet will work only 24 hours. You can click on “24 hours” and select “Never”. This means that the digital wallet will not automatically change every 24 hours.
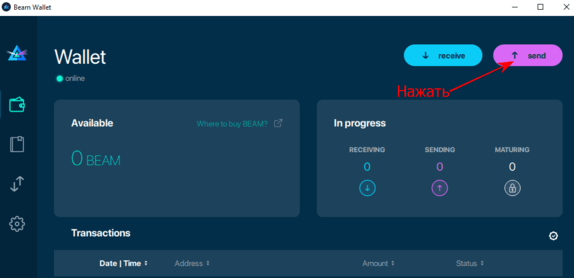
In order to send coins from a cold wallet, on the main page, click on the “send” button.
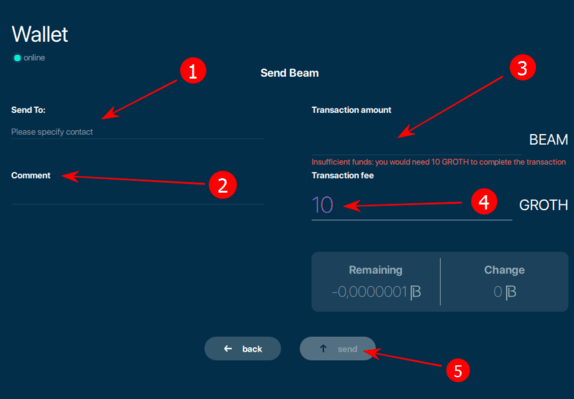
After you click on the send button, a new window will open, with fields to fill out.
How to recover a Beam wallet
- We get to this point and instead of “create new wallet”, click on “Restore wallet” (wallet recovery).
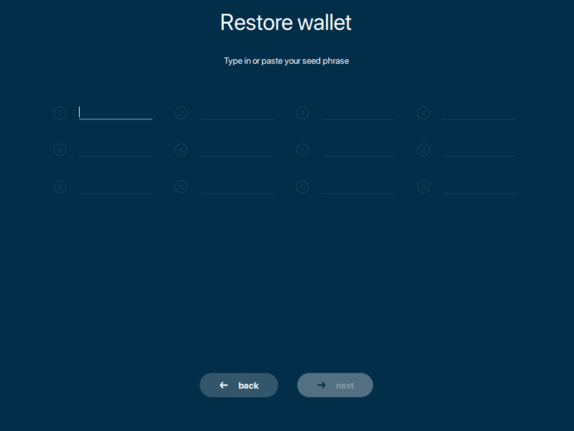
- After that, in the window that appears, enter the seed phrase. When all words are entered click on the button «next».
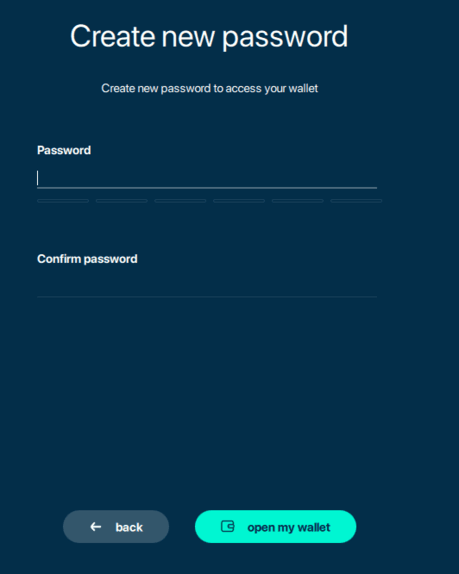
- Again we come up with a strong password and rewrite it, after which we click on the button «open my wallet».
- Next, again select the node, we recommend using the standard one and click on the button«restore wallet».
- After the work done, we wait until the wallet is synchronized again.
Mobile Wallets
In addition to cold wallets, the Beam project provides its users storing coins on mobile wallets, under such operating systems like:
- Android
- IOS
The advantage of these wallets:
- You can send and receive Beam
- Full support for QR codes (can be scanned from another mobile wallet or Beam Desktop Wallet)
- Payment confirmation is a cryptographically secure way that Proves that a specific transaction has indeed occurred.
- Extra password protection for every transaction sent

Note that despite the fact that this type of wallet is convenient and almost always at hand, it is less secure since it has more vulnerabilities. Therefore, if you have a lot of Beam coins, then we would not advise you to store them on your mobile wallet and especially on the exchange. It’s best to use an official cold wallet.
Recommended Related Articles:
- BitcoinSV (BSV) & ElectrumSV wallet for Windows & Linux
MultiBit HD Wallet – Bitcoin wallet for Windows / Linux / MacOS
Electrum Wallet – Bitcoin wallet: review, installation, download.
Bitcoin Core Wallet – Bitcoin-wallet: Overview, Installation, Download.
Read more:
 ElectrumSV: Download BitcoinSV Wallet for Windows & Linux
  Jaxx Wallet – multicurrency crypto wallet BTC, ETH, ETC, ZEC, DASH, LTC, etc. [Overview, Installation, Download]
  Emerald Wallet: Download ETH/ETC/ERC20 Desktop Wallet for Windows
  My EOS Wallet: Download EOS wallet for Windows/Linux/Mac
  MultiBit HD Wallet: Download secure Bitcoin wallet for Windows/Linux/MacOS
  Exodus Wallet: Multi Cryptocurrency wallet (setup, exchange, download)
  BitPay Desktop Wallet: Download Bitcoin Wallet for Windows/Linux/Mac
  Maker Core (MKR): Desktop Wallet for Windows 32/64-bit
  Electrum – Lightweight Desktop BTC wallet [Overview, Installation, Download]
  ZecWallet Lite: Download ZCash (ZEC) Desktop wallet for Windows
  ZecWallet: Download FullNode Zcash (ZEC) wallet for Windows


Post Comment